menu

Preventative Waterproofing Tips in Riverside | Stop Water Damage Before It Starts

Protect your Riverside home from costly water intrusion with proven preventative waterproofing tips that address local climate challenges, seasonal flooding risks, and the unique moisture control needs of our region.

Slider Image 1
Slider Image 2
Slider Image 3
Slider Image 4
Slider Image 5
Slider Image 7
Slider Image 8
Slider Image 9
Slider Image 10
Slider Image 11

Why Riverside Homes Need Proactive Water Sealing Methods

Riverside sits at the confluence of climate extremes that create the perfect storm for water damage. Our summer monsoon seasons dump inches of rain in hours, overwhelming drainage systems built decades ago. The Santa Ana River and flood control channels can overflow during heavy rains, pushing groundwater up through foundation slabs in neighborhoods near the Victoria Avenue corridor and Canyon Crest.

The shift between our dry summers and wet winters causes soil expansion and contraction. That movement creates hairline cracks in foundation walls and slab edges. Water finds these openings. You might not see the damage until mold appears in your drywall or your hardwood floors start cupping.

Older homes in the Magnolia Center and Historic Downtown districts face additional risks. Many were built before modern building codes required vapor barriers or proper grading. The original tar paper and chicken wire stucco systems common in pre-1970 construction offer minimal moisture resistance.

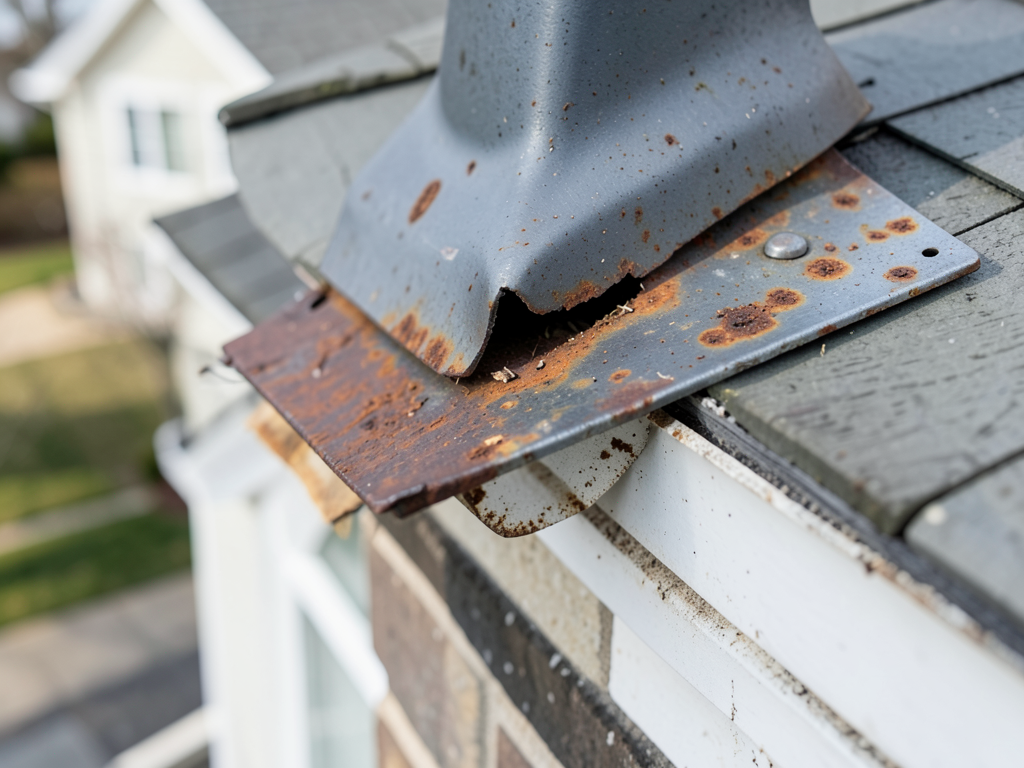
Your home's waterproofing system degrades over time. Caulking dries out. Flashing corrodes. Grout crumbles. These small failures compound into big problems. A DIY waterproofing maintenance guide helps you catch issues early, but you need to know what to look for and when professional intervention makes sense.

The good news is that most water damage is preventable. Strategic moisture control best practices, combined with routine inspection and maintenance, protect your investment. The water damage prevention checklist you follow today saves thousands in restoration costs tomorrow.

Why Riverside Homes Need Proactive Water Sealing Methods
Essential DIY Waterproofing Techniques for Riverside Homeowners

Essential DIY Waterproofing Techniques for Riverside Homeowners

Start with your gutters. They are your first line of defense. Clean them twice yearly, before winter rains and after spring winds blow debris into the channels. Make sure downspouts extend at least six feet from your foundation. The clay soil common throughout Riverside does not drain well. Water pooling near your foundation will find a way inside.

Check your grading. Walk your property after a rainstorm and watch where water flows. The ground should slope away from your foundation at a minimum two percent grade for the first ten feet. If you see ponding or water moving toward your house, you need to regrade or install a French drain system.

Inspect your exterior caulking every spring. Look at window frames, door thresholds, and anywhere two different materials meet. Caulk fails faster in our temperature swings. Scrape out old caulk completely before applying new material. Cheap caulk fails in months. Use polyurethane or silicone-based sealants rated for exterior use.

Your HVAC condensate line needs attention. Most systems in Riverside homes drain through a PVC line that exits near the foundation. These lines clog with algae and sediment. When they back up, water overflows inside your home. Flush the line monthly with a bleach solution.

Check your water heater pan and pressure relief valve quarterly. Most Riverside homes have water heaters in garages or interior closets. A slow leak can saturate drywall and subfloor for months before you notice. Look for rust stains, mineral deposits, or dampness around the base.

These proactive water sealing methods form the foundation of your moisture control strategy. They require minimal tools and time but deliver maximum protection.

Building Your Home Waterproofing Maintenance Guide

Preventative Waterproofing Tips in Riverside | Stop Water Damage Before It Starts
01

Seasonal Inspection Schedule

Create a calendar-based inspection routine tied to Riverside's weather patterns. Check exterior elements before November rains. Inspect interior spaces after storm events. Document everything with photos and dates. This record helps you spot degradation trends and proves valuable for insurance claims if water damage occurs despite your prevention efforts.
02

Critical Vulnerability Points

Focus your attention on the highest-risk areas. Roof valleys collect debris and hold moisture. Stucco cracks around windows allow wind-driven rain penetration. Garage thresholds sit below exterior grade in many Riverside homes. Foundation cold joints are weak points in poured concrete. Crawl space vents need screening and seasonal adjustment to manage humidity levels.
03

Professional Assessment Triggers

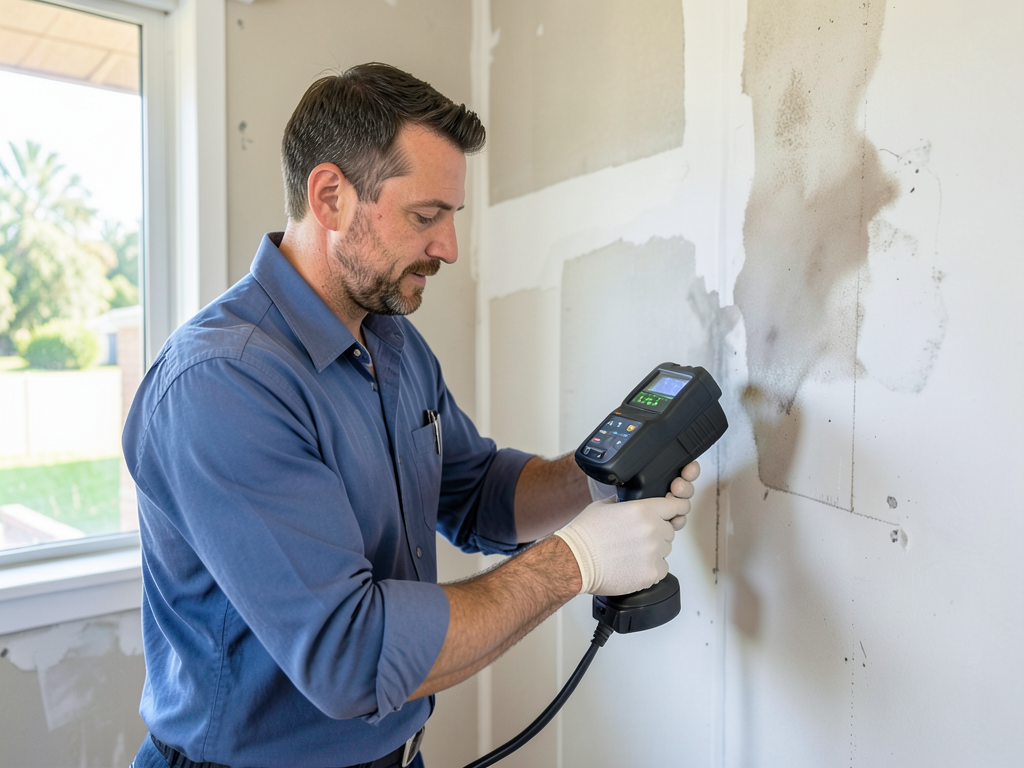
Know when DIY stops and professional help starts. If you see efflorescence on basement walls, that signals active moisture intrusion through concrete. Musty odors indicate hidden mold growth. Soft spots in flooring mean subfloor water damage. Peeling paint on exterior stucco suggests trapped moisture. These conditions require moisture meters, thermal imaging, and targeted remediation beyond typical homeowner capability.

Why Riverside Property Owners Trust Local Waterproofing Expertise

Understanding Riverside's specific challenges matters. We know that homes in the Wood Streets flood differently than properties in La Sierra. The soil composition changes across the city. Clay content increases as you move toward the river. That affects foundation movement and drainage requirements.

Local building code evolution plays a role in your waterproofing strategy. Homes built before 1985 often lack proper foundation waterproofing membranes. The 1990s construction boom in Canyon Crest brought different challenges, particularly with stucco moisture barriers that have now reached their service life. Newer developments near the 91 corridor follow updated IRC codes, but installation quality varies.

Liberty Water Damage Restoration Riverside has spent years working in every neighborhood from Eastside to Alessandro Heights. We have seen how the Santa Ana winds drive rain horizontally into west-facing walls. We know which HOA architectural standards affect your waterproofing options in planned communities. We understand how Riverside's water table fluctuates seasonally and where spring seepage becomes a recurring problem.

This local knowledge shapes our recommendations. A home near Victoria Avenue requires different moisture control strategies than a property in Hunter Industrial Park. Commercial buildings downtown face unique challenges with aging infrastructure and shared walls. We tailor our water damage prevention checklist to your specific property and location.

Prevention saves money. The typical water damage restoration project in Riverside runs several thousand dollars once you factor in structural drying, mold remediation, and material replacement. Most of that damage stems from small issues that grew unchecked. A cracked window seal lets in moisture for months before you notice the wall damage. A clogged gutter overflows into your eaves until rot sets in.

We help property owners implement moisture control best practices that match their maintenance capability and budget. Some situations call for professional-grade solutions. Others just need education and the right DIY approach.

What Your Waterproofing Prevention Plan Should Include

Immediate Action Items

Start your prevention program today with quick wins that deliver immediate protection. Clean your gutters and extend downspouts. Seal visible cracks in exterior caulking. Check your attic for roof leak stains after the next rain. Test your sump pump if you have one. These tasks take a few hours but eliminate common water entry points. You do not need special skills or expensive tools. A caulk gun, ladder, and garden hose cover most basic waterproofing maintenance needs. Schedule these tasks quarterly to stay ahead of normal wear and degradation.

Professional Assessment Timing

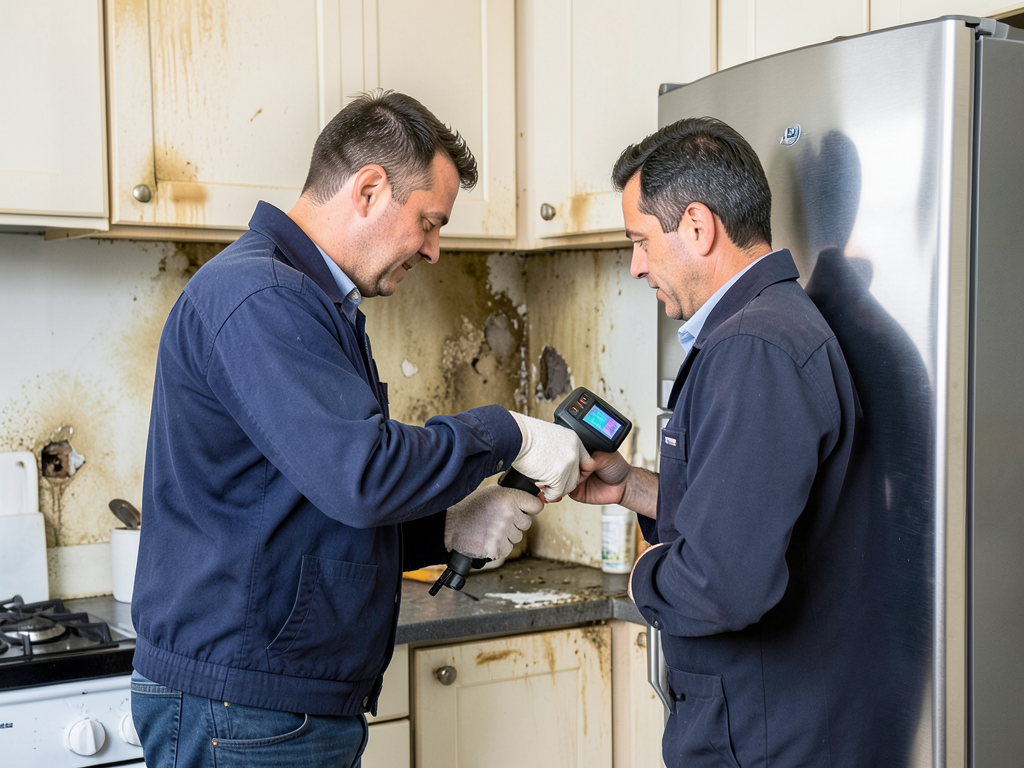
Bring in experts for comprehensive evaluation every three to five years, or immediately if you notice warning signs. A professional moisture inspection includes thermal imaging to detect hidden water intrusion, moisture meter readings in walls and floors, and pressure testing of plumbing systems. We check areas you cannot easily access like behind shower pans, under slab plumbing, and inside wall cavities. This assessment identifies problems before they cause visible damage. You receive a prioritized action plan with timeline recommendations and cost factors for each item. Some issues need immediate attention. Others can wait for your next remodeling project.

Documentation and Records

Maintain detailed records of all waterproofing work, inspections, and maintenance activities. Photograph problem areas before and after repairs. Keep receipts for materials and professional services. Note dates of severe weather events and any moisture issues that followed. This documentation proves valuable for insurance claims and home sales. It also helps you track which prevention methods work and which areas need more attention. Create a simple spreadsheet or use a home maintenance app. Include inspection dates, findings, actions taken, and costs. Review your records annually to identify patterns and adjust your prevention strategy accordingly.

Ongoing Maintenance Schedule

Build a sustainable maintenance rhythm that fits your schedule and capabilities. Monthly tasks include checking for new cracks, testing sump pumps, and flushing HVAC drains. Quarterly activities cover gutter cleaning, exterior caulk inspection, and grading checks. Annual projects involve roof inspections, foundation sealing, and crawl space ventilation adjustments. This staged approach prevents overwhelm while ensuring comprehensive coverage. Some homeowners handle everything themselves. Others prefer professionals for certain tasks. The key is consistency. A mediocre prevention plan followed religiously beats a perfect plan executed sporadically. Adjust your schedule based on weather patterns and your home's specific vulnerabilities.

Frequently Asked Questions

You Have Questions,
We Have Answers

What to do before applying waterproofing? +

Before applying waterproofing, inspect all surfaces for cracks, gaps, and damage. Clean the area thoroughly to remove dirt, oil, mold, and loose debris. Any contamination prevents proper adhesion. Repair structural issues first, like foundation cracks or damaged concrete. In Riverside, check for mineral deposits from hard water and seasonal soil movement that can create new gaps. Ensure surfaces are completely dry before application. Measure moisture levels with a meter. Proper prep determines whether your waterproofing lasts five years or fails in one season.

What are common waterproofing mistakes? +

The biggest mistake is skipping surface prep. Applying waterproofing over dirty or damp surfaces guarantees failure. Many homeowners use the wrong product for their specific problem. Interior sealants do not work on exterior walls. Another common error is applying too thin a coat or skipping second layers. In Riverside, ignoring ground grading around foundations leads to repeated water intrusion. Failing to seal joints and transitions creates weak points. Not addressing the water source itself means you are treating symptoms, not causes. Poor timing during application, like during rain or extreme heat, also compromises results.

Should you prime before waterproofing? +

Yes, priming before waterproofing improves adhesion and coverage. Primer seals porous surfaces like concrete, masonry, and stucco, preventing the waterproofing material from soaking in unevenly. It also helps identify missed cracks or defects. In Riverside, where concrete foundations often contain mineral salts and efflorescence, primer creates a stable bonding surface. Use a primer compatible with your waterproofing product. Let it dry completely per manufacturer specs. Skipping primer on porous materials leads to weak seals, bubbling, and early failure. This step adds cost upfront but extends waterproofing lifespan significantly.

How much does it cost to waterproof a 1000 sq ft basement? +

Waterproofing a 1000 square foot basement varies widely based on method and condition. Interior sealants and coatings run lower but only address minor moisture. Exterior excavation and membrane installation costs more but solves root problems. Riverside properties with clay soil or high water tables may need French drains or sump pumps, adding expense. Crack repair, surface prep, and labor drive final numbers. Severe foundation damage increases scope. Get multiple quotes from licensed contractors familiar with Riverside soil conditions. Investing in quality exterior waterproofing now prevents expensive structural repairs later.

How Riverside's Soil Conditions and Flood Zones Impact Your Waterproofing Strategy

Riverside's clay-heavy soil creates unique foundation challenges that demand specific moisture control approaches. The soil expands significantly when saturated during winter rains, then contracts during our dry summers. This cycle exerts tremendous pressure on foundation walls and creates movement in slab foundations. Properties near the Santa Ana River floodplain face additional risks from seasonal water table fluctuations. Neighborhoods like Eastside and parts of La Sierra sit in FEMA flood zones where groundwater can rise to within feet of the surface during wet years. Your waterproofing plan must account for both surface water drainage and subsurface moisture control to remain effective year-round.

Riverside building codes have evolved significantly over the decades, creating a patchwork of waterproofing standards across the city. Properties in historic districts often lack modern vapor barriers and rely on outdated tar paper systems. Newer construction follows current IRC requirements but faces quality control issues depending on the builder. Liberty Water Damage Restoration Riverside understands these local variations and helps property owners navigate appropriate upgrades without unnecessary expense. Our familiarity with city inspection requirements and local contractor capabilities ensures your prevention efforts meet both code standards and practical performance needs for our specific climate and soil conditions.
Water Damage Restoration Services in The Riverside Area

We are dedicated to serving the entire Riverside area and its neighboring communities with fast and reliable water damage restoration services. Whether you’re a resident or a business owner, our team is ready to respond to your call. Use the map below to see our service area, or call us directly to confirm if we can dispatch a team to your location for an immediate emergency response.

Address:
Liberty Water Damage Restoration Riverside, 11801 Pierce St, Riverside, CA, 92505

Additional Services We Offer

Our news updates

Latest Articles & News from The Blogs

Why your ice maker line is a ticking time bomb for your kitchen floor Ice maker supply lines are one…

Why your ice maker line is a ticking time bomb for your kitchen floor

Why your ice maker line is a ticking time bomb for your kitchen floor Ice maker supply lines are one…

How to spot the signs of a chimney leak before it ruins your Riverside living room

How to spot the signs of a chimney leak before it ruins your Riverside living room Your chimney is more…

The most common plumbing mistakes Riverside DIYers make that lead to floods

The most common plumbing mistakes Riverside DIYers make that lead to floods DIY plumbing projects in Riverside often start with…

Contact Us

Do not wait until you see water stains or smell mold. Call Liberty Water Damage Restoration Riverside at (951) 309-5499 for a professional moisture assessment. We help you build a prevention plan that matches your home's specific risks and your maintenance capabilities.